Lately I’ve been making my terrain with Google Sketchup which is a 3D software that allows you to easily build 3D objects. Sketchup is very simple to use and it is free. the ability to make your models to scale is invaluable to me as I will then open the Sketchup file containing my model with Ultimate Paper Craft 3D and unfold the model so I may print it out and build it. In these next few posts I will go through the process of making a piece of industrial Warhammer 40k terrain.
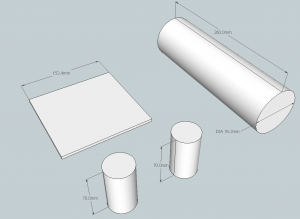
Well to get started I need to decide what I’m going to build and what I’m going to build it with before actually designing it. As it turns out I have a Pringles can (H: 26 cm {10.24 in}, Circumference: 23.5 cm {9.25 in}) a couple of Yakult bottles, some 5mm foam board and some straws. Make sure you measure your items before construction and jot them down on a piece of paper.
Although I grew up using Imperial measurements I prefer to use metric as it is more logical (in my opinion).
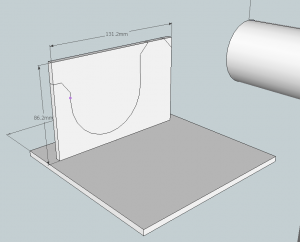
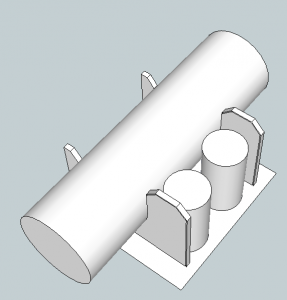
I have a spare piece of precut foamboard that is 6″x6″ so I’ve added that as well. Now that I have my pieces I move them around in different ways to see what appeals to me. In the end I’ve decided to make a fuel tank of some sort. I think I want the tank to go on it’s side to block line of site and increase it’s blocking terrain footprint. Since I know the diameter of the Pringles Can and the height of the yakults I make some feet for the tube so it sits off of the ground. I will extend it out so it makes a shield around the two smaller tanks.
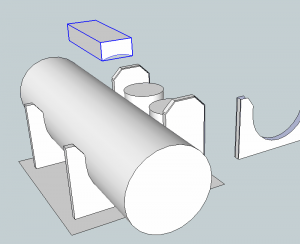
now it is just a matter of deleting the unwanted bits and copy/paste to have my two supports. I will then assemble it to see if I like the looks of it.
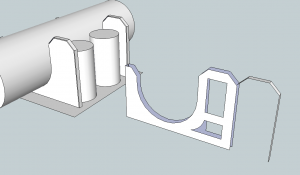
Well this is the look that I wanted and you could call it good and go to the next step but with Sketchup you can do much more. I have some 1mm mat board, card stock and cereal boxes that I’m going to use to add some relief to this piece of terrain. I will first start with the tank supports. I will select the side of the support and copy then paste it to the side. I will then give it 1mm depth and add a simple design to it.
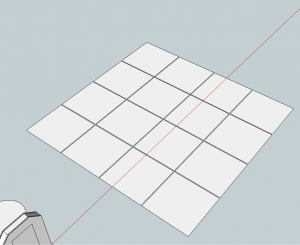
This will be glued unto the foamboard giving it a bit of relief. You can go as crazy as you like, but I don’t feel like cutting detailed pieces in 1mm mat board. Now for the tank. You can just prime and paint it but you will see the spiral of the Pringle card. So knowing the circumference and the length I make a square then carve it up into smaller squares. Now I have square plates that I can place over the Pringles can with a 1mm gap between them.
I want a way to connect the Yakult bottles to the Pringles Can so I will place a box on top of the Pringels. Since I know the curvature of the can I can shear the bottom of the box off so it will rest securely on top.
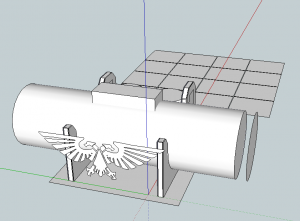
So far this has taken me an hour and a half to make as I tried out different arrangements and decorations. Now using Imperial Font I add the Imperial Eagle and call it good!
And we are done! Next i will show you how to get this design into a printable format with Ultimate Paper 3D.

0 Responses
Stay in touch with the conversation, subscribe to the RSS feed for comments on this post.
You must be logged in to post a comment.