I have seen many posts that show how to add magnets to your Warhammer 40,000 models. Many of the figures and vehicles have such a multitude of options that it is almost a crime to permanantly glue just one option on to them. The best, and fairly simple, solution is to use magnets into your models. This way you can remove and add the options you need for each individual game. This also keeps you from purchasing multiple models in order to have all the options you may need.
Where to start? Well the best place to start is to take your model and measure the areas that you want to add the magnet to. You will need to check the entire area including depth. Once you have figured out if you can even insert magnets into your model it is time to do a check list of tools.
- Tweezers
- Super Glue
- Pin Vice
- Drill Bits (the same diameter as the magnets)
- Red Paint (or any brightly coloured paint)
- Magnets
Have everything you need? Here are some links you may find what you need. I have not tried any or all of these companies so please do a little research before purchasing on line.
Tools
Magnets
For my Tau Crisis Suits I went with 2mm x2mm magnets. I used a 2mm drill bit. I had grown up with the Imperial measurement system, however I am now living where they use metric. If your having problems figuring out what drill bit or magnet size that use different measurements try this Online Conversion website.
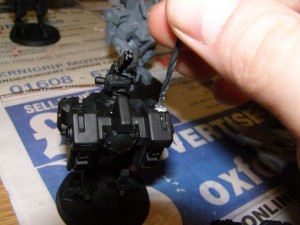
Step Two
STEP ONE: Get a paint brush or cotton swab and some bright coloured paint. Taking the magnets (the normally form a stright line) paint one side of the magnets, either the positive or the negative but not both sides. This step is the most important step! If you place a positive side facing outward then do the same for the part you want to attach they will repel each other! This is the easiest way of keeping track! Remember opposites attract.
STEP TWO: Carefully drill the holes to the proper depth. If your unsure then stop drilling and place the magnet into the hole to check the depth. I placed four holes in each Tau Crisis Suit. One in each shoulder and one in each arm. I then placed a hole in each of the weapons and Crisis Suit Upgrade items (Multi-Tracker and Target Lock) . Once you have all your holes drilled proceed to the next step.
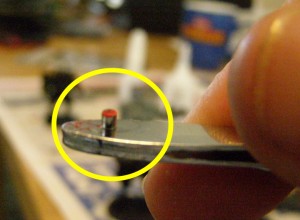
Step Three
STEP THREE: Decide what is the facing side for the model. I choose the unpainted side (silver) for the Crisis Suits and the Red side for the Weapons. Taking a metal tweezers I attached one magnet to it. Making sure that the Red Side is facing up! I then add super glue to the magnet and using the tweezers I insert the magnet so it is flush with the surface of the model.
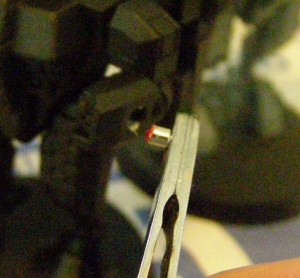
Step 3
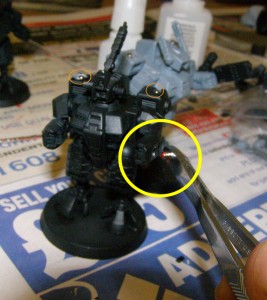
Step 3
Do the same for the weapons but make sure the painted side (or opposite side) is facing to make sure they attach properly.
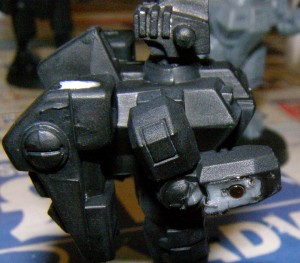
Finished arm.
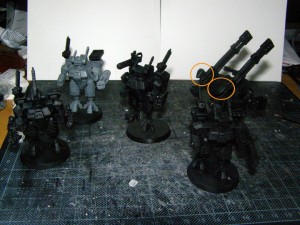
Modular Crisis Suits and Broadside Battle Suit
That is all there is to it! Just remember to take care when drilling. Some times the heavier Commander weapons will droop however a quick nudge and they are back up again. I know some sites suggest placing a second 1mm x 1mm magnet in the arm to keep this from happening. I may one day try this, but so far I am pleased with the results! Next step is to add magnets to my Tau Devilfish, Piranha, Hammerhead, Skyray and possibly even the drones.
Now this will work for any of your Warhammer 40k models. Just make sure the magnet will fit without weakening the model first before you start drilling. I have a friend who is going to do this to his Chaos Terminators and some of his Tactical Marines as well. I will try to edit this post with pictures.




![Reblog this post [with Zemanta]](http://img.zemanta.com/reblog_e.png?x-id=cc448696-6ec7-402f-8ce8-dade01de7021)


![Reblog this post [with Zemanta]](http://img.zemanta.com/reblog_e.png?x-id=b4a7579f-4380-49ec-b792-4c8a1088ef43)
