Before I start, there is a KEY technique I use across all of these: I don’t dry brush in a sweeping motion. I dry brush each layer in a different direction. This cause different colors to be collected in different pockets and not get totally covered by the next layer.
I also tend to think that floors are dirtier than walls so I basecoat them brown and build up from there. Walls are basecoated as needed.
All of these test were done on Flowstone Black bricks (Dental Plaster).
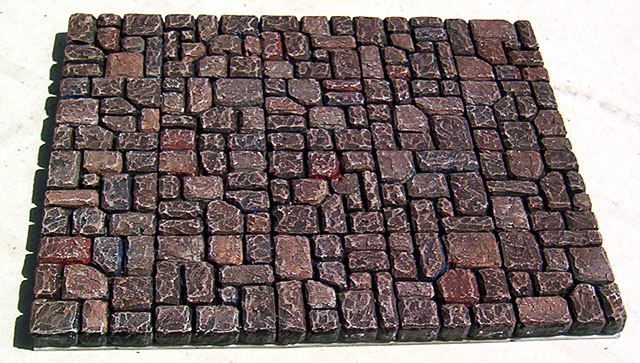
Field Stone Floor
Floor:
- Brown basecoat
- Paint random stones in bright colours. The blue ones are straight cyan. Other colours include Red, Orange, Tan, etc.
- Make sure that you don’t paint the same colour on two adjacent stones
- Wash the whole thing with thinned black ink
- Dry brush up brown up through bleached bone
- If it’s still too bright, wash it with brown and touch up the bleached bone
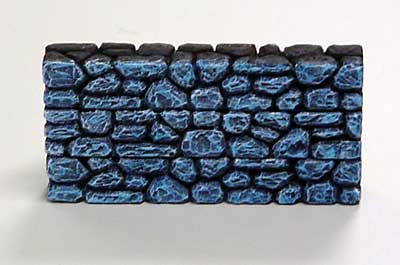
Ice Wall
- Black basecoat
- Coating of Regal blue
- Wash of thinned blue ink.
- Dry brush of Ultramarine blue, enchanced blue and ice blue
- very fine dusting of white on the tips
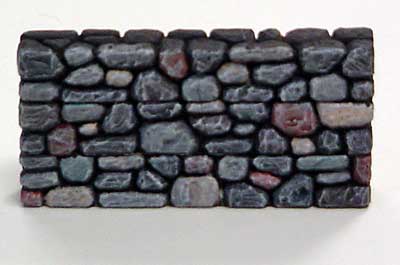
Multicolour Wall
- Black basecoat
- Paint random stone in muted tones (pastels). Dark flesh, tan, shadow grey, etc.
- Wash of thinned black ink
- Dry brush of bluish greys
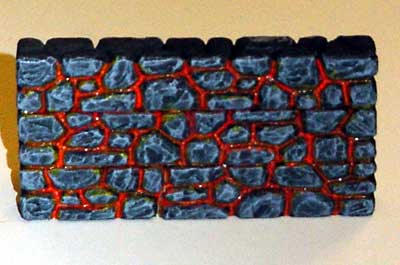
Lava Wall
- Same basic steps as the Ice Wall
- Run a thin wet brush of Blood Red through all the cracks
- Use a thinner brush and run Blazing Orange along the center of the Blood Red
- Run a brush over loaded with yellow ink along the cracks. You want it to creep up the sides of the stones. This makes a “glowing” glaze
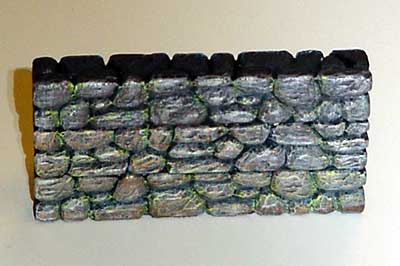
Natural Wall
- Black basecoat
- Mix of brown and grey (can’t remember the mix)
- Wash of thinned brown ink
- Dry brush of Codex Grey, Fortress Grey
- Dry brush of Scorpion Green into the cracks (randomly, you don’t want to do every crack)
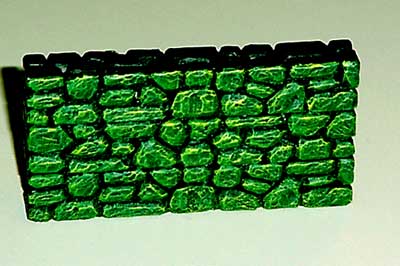
Green Slime Wall
- Exactly the same as the Ice Wall but with green
- Coating of Dark Angels Green
- Wash of thinned Green ink
- Dry brush Snot Green, Goblin Green, Scorpion Green
- Very light dusting of Badmoon Yellow (not white)
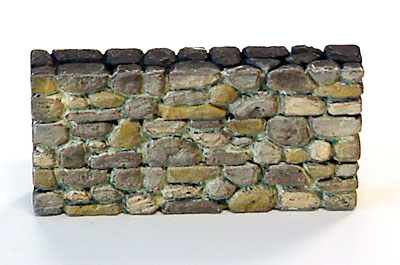
Mortared Wall
- The concept on this test is that the stones are held in place by lighter mortar
- Randomly paint stones with browns: Graveyard Earth, Snakebite Leather, Bubonic Brown, etc.
- Wash of brown ink
- Dry brush of grays and browns but not Bleached Bone
- Using a wet brush (over loaded) run thinned (not too much) of Bleached Bone into the cracks (like the lava wall.
- Light dry brush of scorpion green through the cracks (random).
- Somewhere I have a colour test on chipped stone, I’ll see if I can find the pics (one of the great unfinished projects)

2 Responses
Stay in touch with the conversation, subscribe to the RSS feed for comments on this post.
Continuing the Discussion
You must be logged in to post a comment.